We previously learned how to create components and how to have more control over the scheduling process using operations. In this sections we will learn how to run components interactively inside a Jupyter notebook.
Same principle applies to running other interactive environments, e.g. vscode session, zeppelin, or any other service.
Overview
Notebooks allow users to create and share documents that contain live code, visualizations and explanatory texts. Notebooks are great for interactively writing and debugging your code and visualizing your results and data.
Start a notebook
Starting a notebook is similar to running any other Polyaxon components, i.e. we need to define a Polyaxonfile or use a public component.
Let's run one of the public notebook components:
polyaxon run --hub jupyterlab:tensorflow -wFor more details about this command please run
polyaxon run --help, or check the command reference
Since the notebook is created with a Polyaxonfile, it can be customized similar to as any other job or service, e.g. instead of just executing polyaxon run
we can create an operation to customize the environment, request GPUs, define termination ... when a predefined public component is limiting users can create their own component:
version: 1.1
kind: operation
hubRef: jupyterlab:tensorflow
runPatch:
  container:
    resources:
      requests:
        cpu: 200m
        gpu: 1
        memory: 512
      limits:
        cpu: 1
        gpu: 1
        memory: 2048
Stop a notebook
We stop a notebook the same way we stop any other operation, run the following command in your terminal:
If the operation is cached
polyaxon ops stopOtherwise, you need to pass a UUID
polyaxon ops -uid UUID stopFor more details about this command please run
polyaxon ops --help, or check the command reference
You can also start and stop notebooks, and any other operation from the UI.
Resume a notebook
Resuming a notebook is similar to resuming any other operations:
If the operation is cached
polyaxon ops resumeOtherwise, you need to pass a UUID
polyaxon ops -uid UUID resumeAccess the notebook
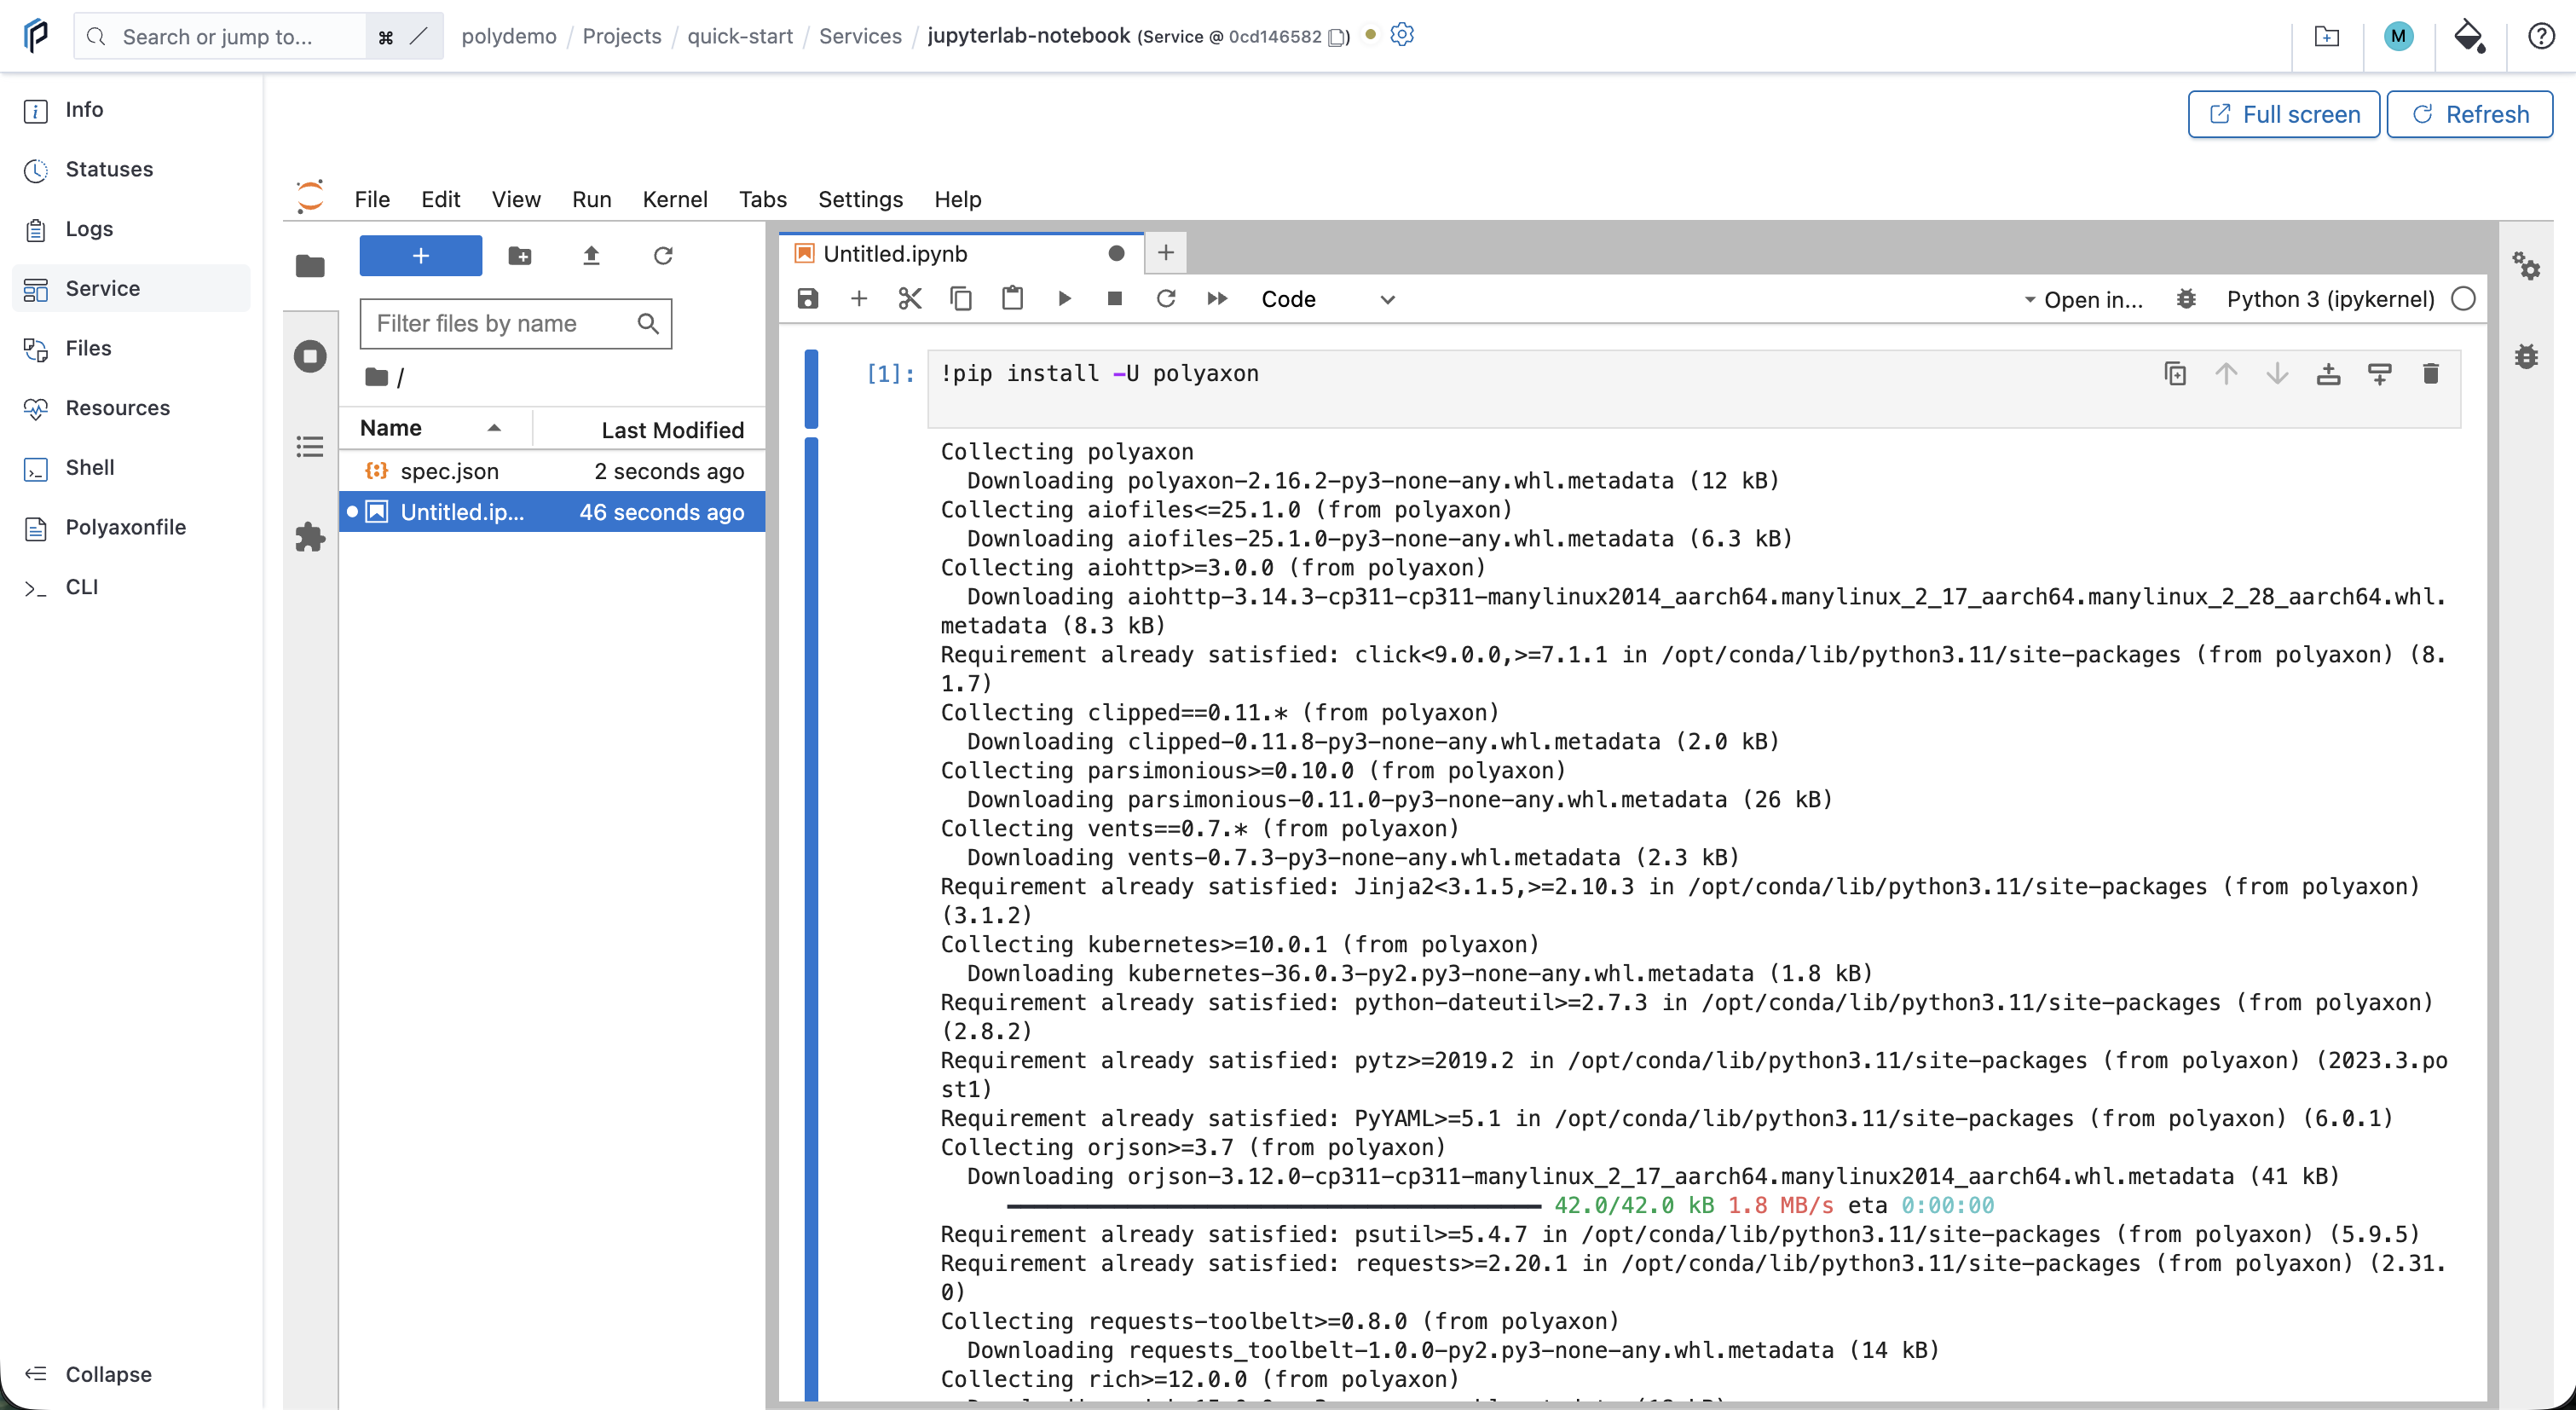
Once the notebook is running, open the quick-start project in the UI, select Services, then open the notebook service. The Service tab embeds JupyterLab in Polyaxon; select Full screen to open a larger view.
You can also access the notebook from your terminal. Copy the run UUID printed when you started the notebook into a local variable:
export RUN_UUID=PASTE_RUN_UUID_HEREPrint both the Polyaxon service page and external service URLs:
polyaxon ops service -p quick-start -uid $RUN_UUID --urlOpen the embedded Polyaxon service page directly:
polyaxon ops service -p quick-start -uid $RUN_UUID --yesTo open JupyterLab through its external service URL instead, add --external:
polyaxon ops service -p quick-start -uid $RUN_UUID --external --yesThe notebook service must be running before these commands can resolve its URL.
Start experiments
We need to install polyaxon in our Jupyter environment:
!pip install -U polyaxonWe will programmatically schedule some experiments from the notebook, all experiments that we schedule from the notebook will run inside isolated pods in the Kubernetes cluster. Each one of those experiments will be managed separately by Polyaxon and will create a new record under the runs table in the database.
from polyaxon.tuners.grid_search import GridSearchManager
from polyaxon.schemas import V1GridSearch, V1HpChoice, V1HpLinSpace
from polyaxon.client import RunClient

client = RunClient()

grid_search_config = V1GridSearch(
    params={"optimizer": V1HpChoice(value=["adam", "sgd", "rmsprop"]),
            "dropout": V1HpLinSpace(value={'num': 20, 'start': 0.1, 'stop': 0.5}),
            "epochs": V1HpChoice(value=[5, 10])},
    num_runs=5
)

suggestions = GridSearchManager(grid_search_config).get_suggestions()
for suggestion in suggestions:
    client.create_from_url(
        url="https://raw.githubusercontent.com/polyaxon/polyaxon-quick-start/master/scheduling/experimentation/typed.yaml",
        params=suggestion)
Analyze the experiments
Let's try to derive some insights from the experiments.
Let get the top experiment:
from polyaxon.client import RunClient

client = RunClient()
run = client.list(sort="-metrics.loss", limit=1).results[0]
run_client = RunClient(run_uuid=run.uuid)
run_client.refresh_data()
print(run_client.get_inputs())
print(run_client.get_outputs())
Get metrics for the selected run
run_client.get_metrics('loss, accuracy')Tidy dataframe
run_client.get_metrics_as_tidy_df()Install some plotting dependencies
!pip install plotly hiplotIf you are using Jupyter notebook you can skip this step, otherwise, to use Plotly Express in JupyterLab, you will need to install the express extension (mode details can be found in Plotly troubleshooting page), in a new terminal run and reload the notebook:
!jupyter labextension install @jupyter-widgets/jupyterlab-manager jupyterlab-plotlyPlot a line chart
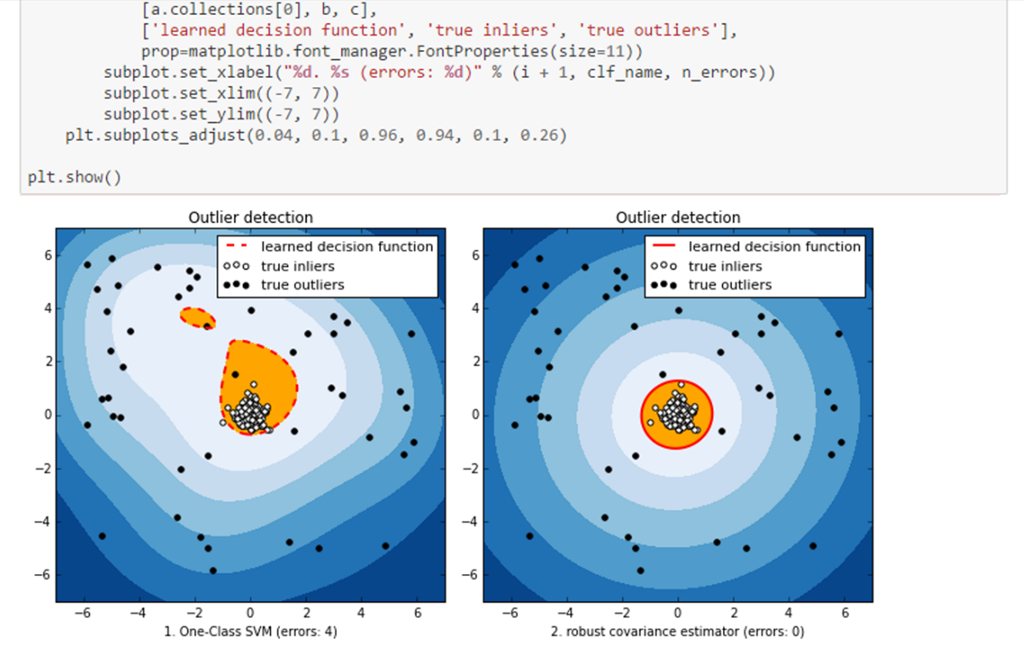
run_client.get_metrics_as_line_chart()Example in notebook:
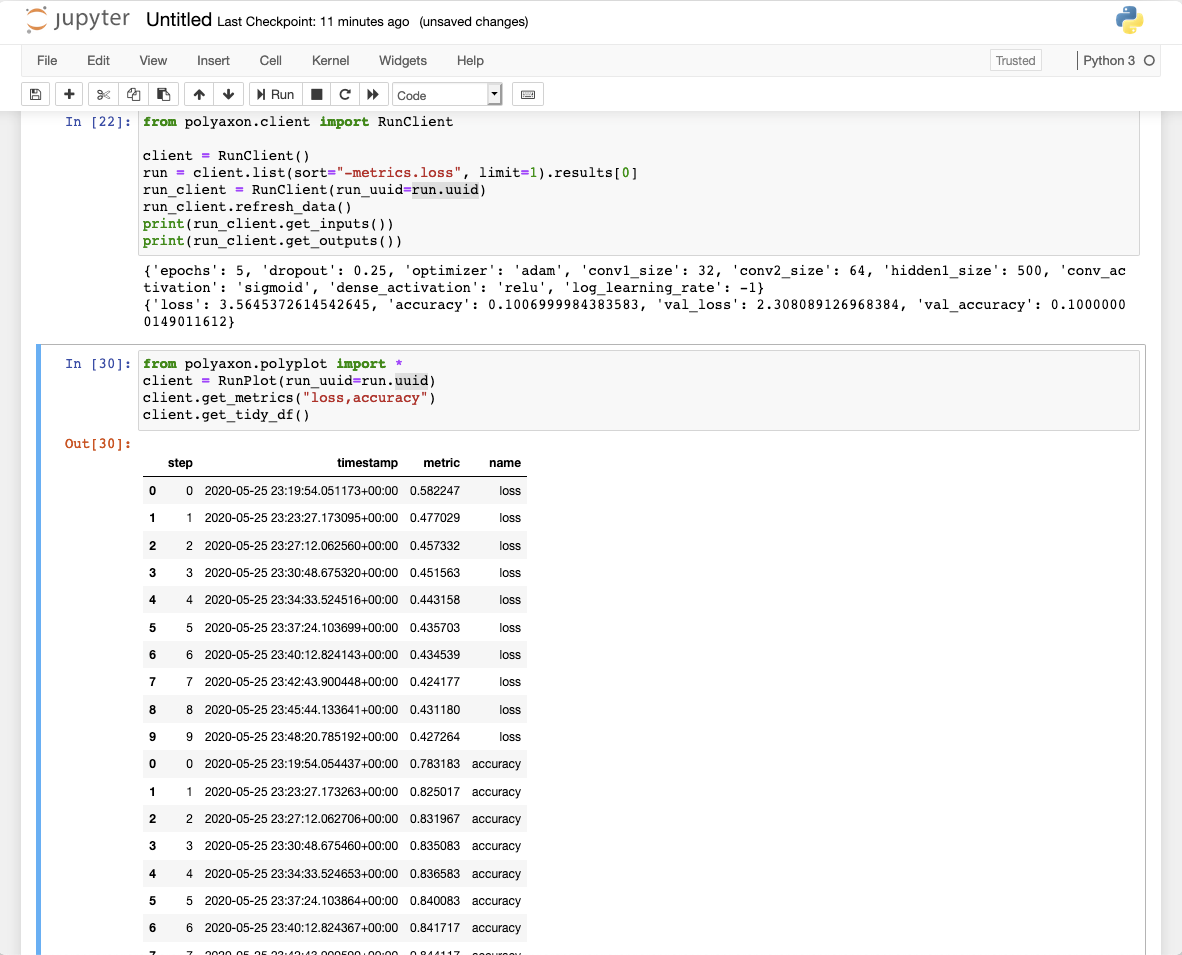
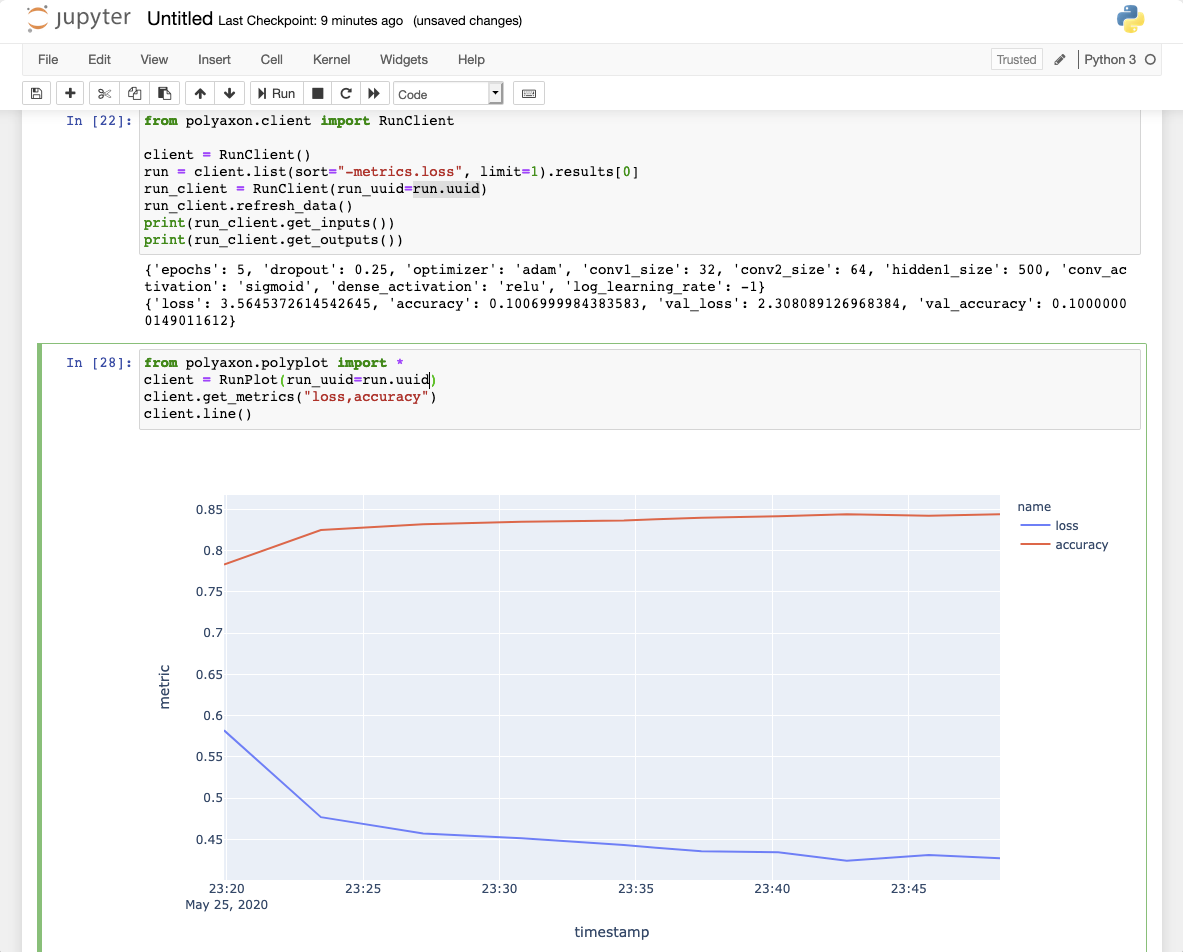
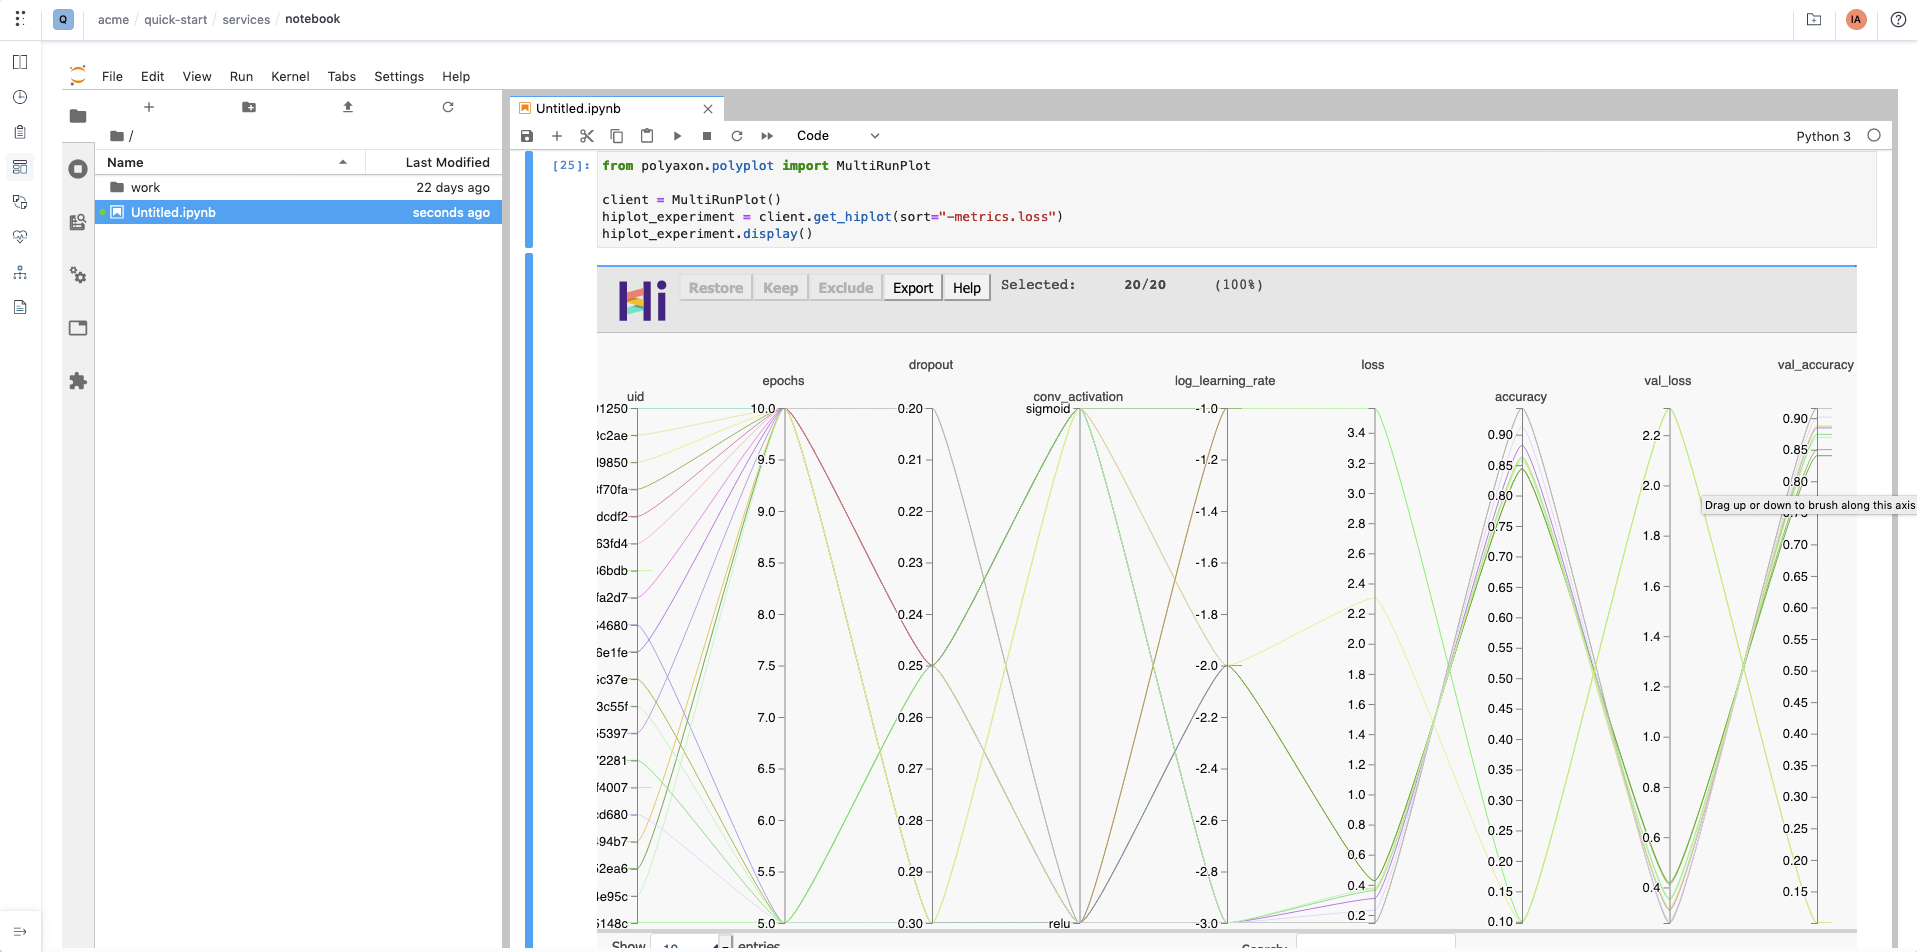
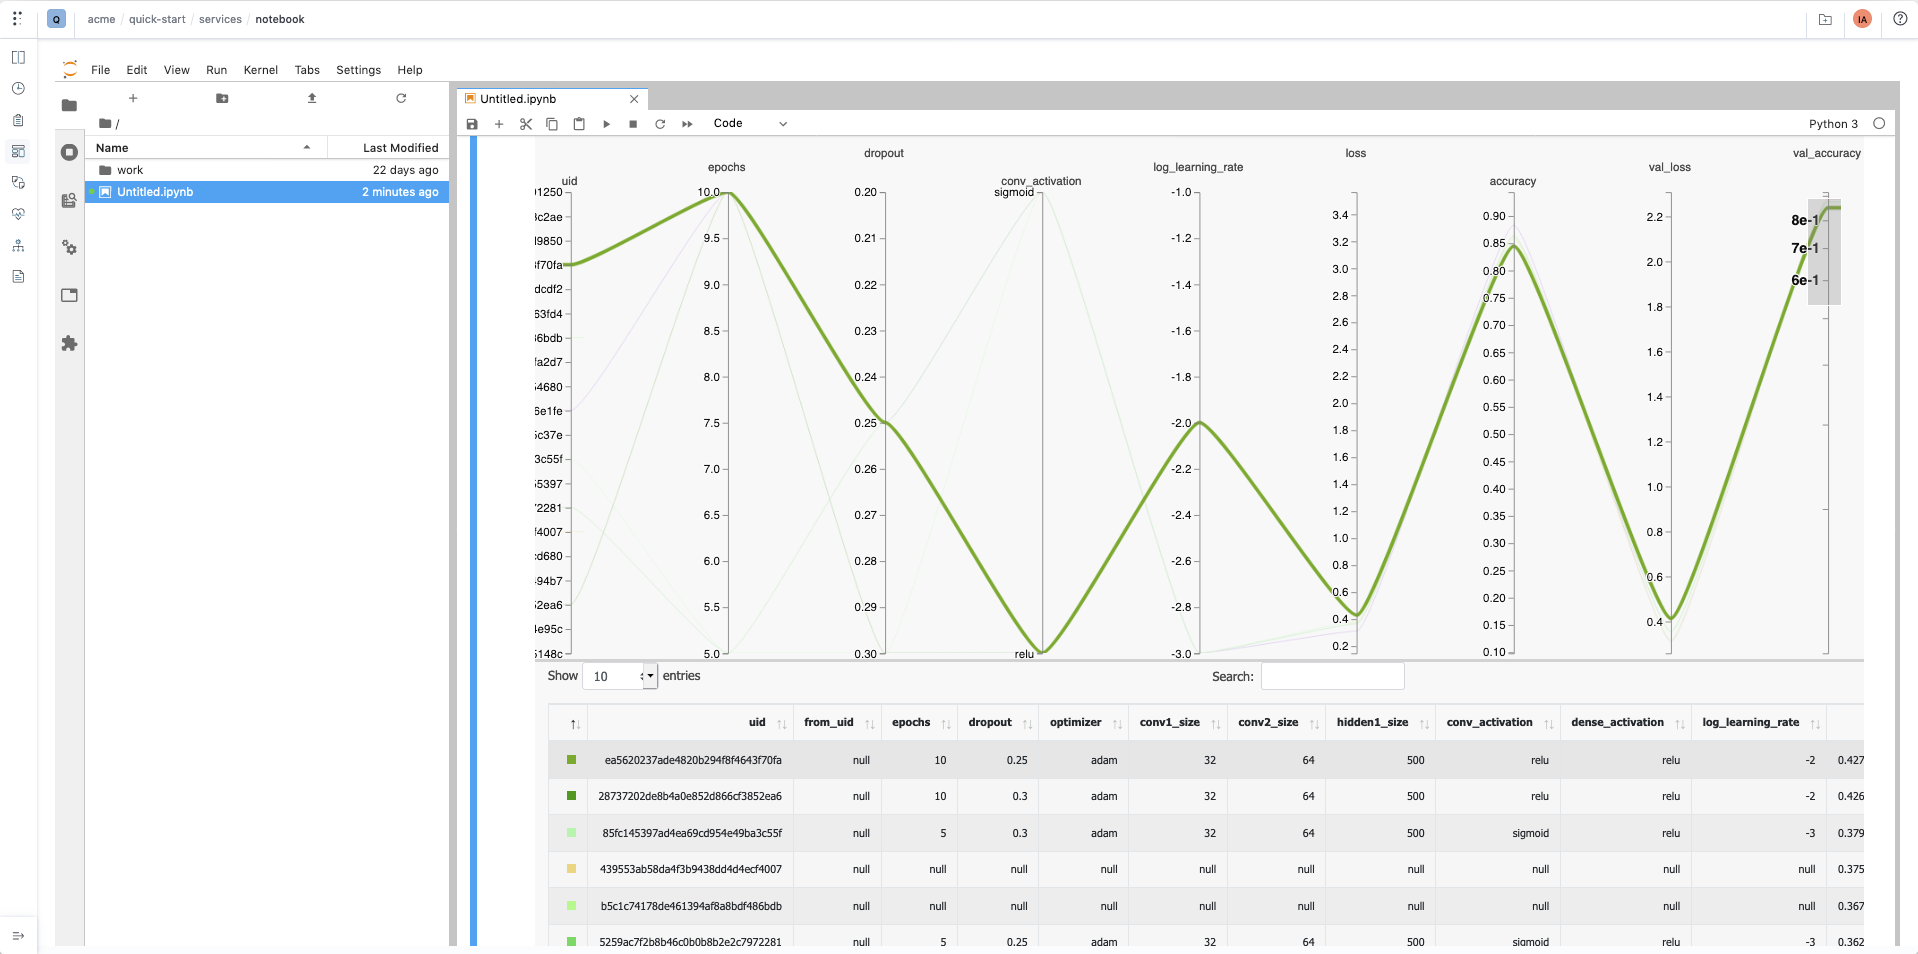
Let's compare several runs:
from polyaxon.client import RunClient

client = RunClient()
# This is an example of getting top 100 based on loss of all experiment
# that have one of the tags experiment or examples
hiplot_experiment = client.get_runs_as_hiplot(query="tags:experiment|examples", sort="-metrics.loss", limit=100)
hiplot_experiment.display()
Example in notebook: