Note: Requires Polyaxon v1.3.3 or higher.
We previously learned how to run operations with Polyaxonfiles hosted on GitHub using the --url argument.
During rapid development, users may want to iterate on their code and submit operations with those changes.
In this section, we will learn how to initialize a local folder and run an interactive experimentation process by uploading code to the experiment's path on the artifact store.
Note: To integrate an external git repo with the CLI, please check the next section of this guide.
Clone Polyaxon quick-start
If you followed the Quick Start and are still in polyaxon-basics, return to its parent directory:
cd ..Clone the quick-start repo, then enter the repository root:
git clone https://github.com/polyaxon/polyaxon-quick-start.git
cd polyaxon-quick-start
polyaxon-basics is the working directory created by the Quick Start. polyaxon-quick-start is the example repository used by this and later guides.
Check the Polyaxonfile for the local integration
Under scheduling/local-integration there is a single Polyaxonfile for this example. It is the same as the simple.yaml file used earlier under scheduling; the only difference is that this version does not include an init section.
version: 1.1
kind: component
name: experiment-with-local-code
description: Example with local code
tags: [examples]
run:
  kind: job
  container:
    image: polyaxon/polyaxon-quick-start
    workingDir: "{{ globals.run_artifacts_path }}/uploads"
    command: [python3, model.py]
Another thing to notice about this Polyaxonfile is the different workingDir: "{{ globals.run_artifacts_path }}/uploads".
This tells the container to use uploads under the run artifact path.
The value uploads can be any subpath where you decide to upload your local code. The default is uploads.
Initialize the project
Instead of hard-coding an init section as in the previous sections of this quick-start tutorial, initialize the repository root to use the CLI cache and avoid passing the project to every command:
polyaxon init -p quick-start --polyaxonignoreThis creates the local project context and a .polyaxonignore file. Review the ignore patterns before uploading. For faster uploads, exclude files such as the .git history and IDE configuration. The Create a project guide explains both files.
Uploading and scheduling experiments
In the previous section, we used a hard-coded Git initializer. That workflow requires a Git push and, for a private repository, a connection that can pull the code.
In this section, we upload the local code before starting an operation:
polyaxon run \
  -f scheduling/local-integration/simple.yaml \
  -u-from scheduling \
  -l
This tells Polyaxon to upload the current directory, while respecting the .polyaxonignore patterns, before starting the experiment.
Inspect the uploaded-code lineage
Open the run in the UI and select Lineage > Artifacts. The uploads input is the directory packaged by -u:
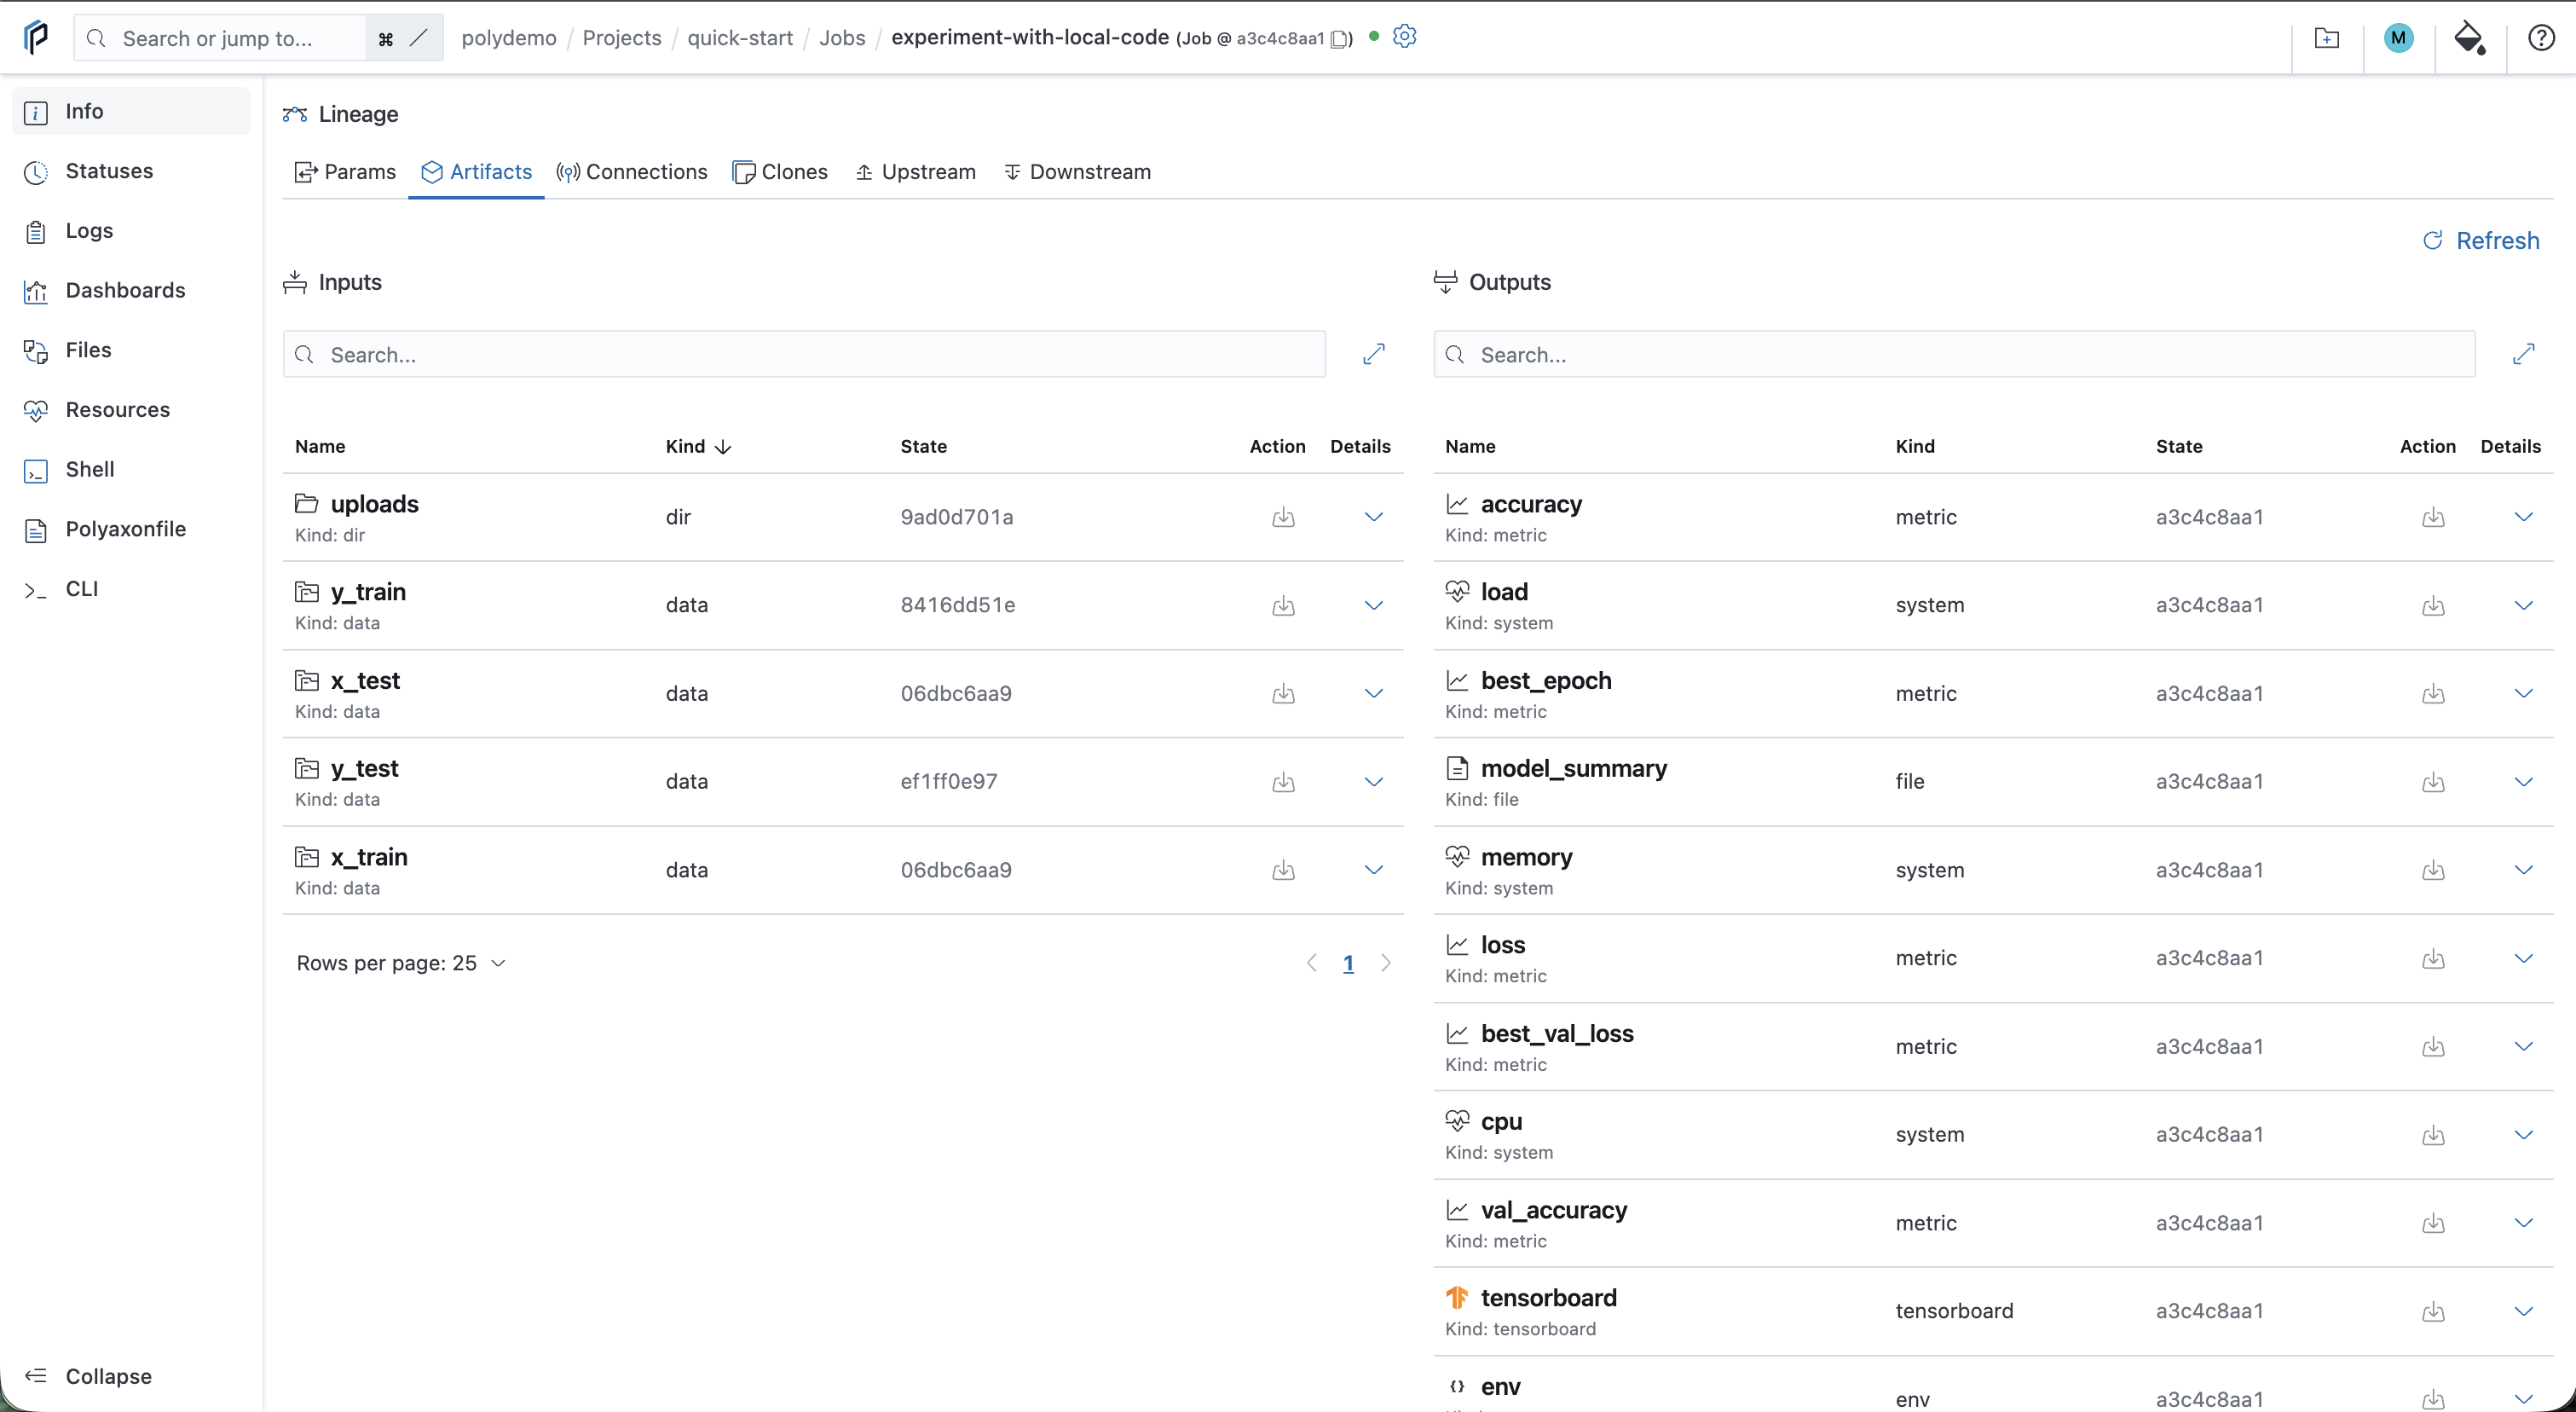
This run points to files uploaded from your machine. It has no Git code reference.
Uploading and scheduling experiments using a different path
To upload code or artifacts to a path other than the default uploads, for example code:
- Change the Polyaxonfile to use
workingDir: "{{ globals.run_artifacts_path }}/code". - Run the upload command with a specific path:
polyaxon run -f scheduling/local-integration/simple.yaml -u-from scheduling -u-to code.
If your local folder is large, and several subpaths are not necessary, you can also use -u-from/--upload-from.
Note: It's possible to remove the
workingDiraltogether and put that logic in presets. This will allow you to use the same polyaxonfiles and patch them based on if you are using a git repo or local code.
Uploading after starting an experiment
The Polyaxon CLI also provides polyaxon ops upload. It can upload artifacts to an existing experiment independently of its current status. Run polyaxon ops upload --help to see its options.
This command is useful when you need to upload artifacts or code after creating a run, or resume an operation with different artifacts.