You can use Okta SAML to manage your organization’s entire membership.
Overview
This guide is intended for Admins setting up SSO SAML with Okta.
When you configure Single Sign-on (SSO) with Okta, your users will be able to create and sign into their Polyaxon accounts using Okta.
Set up SSO SAML with Okta
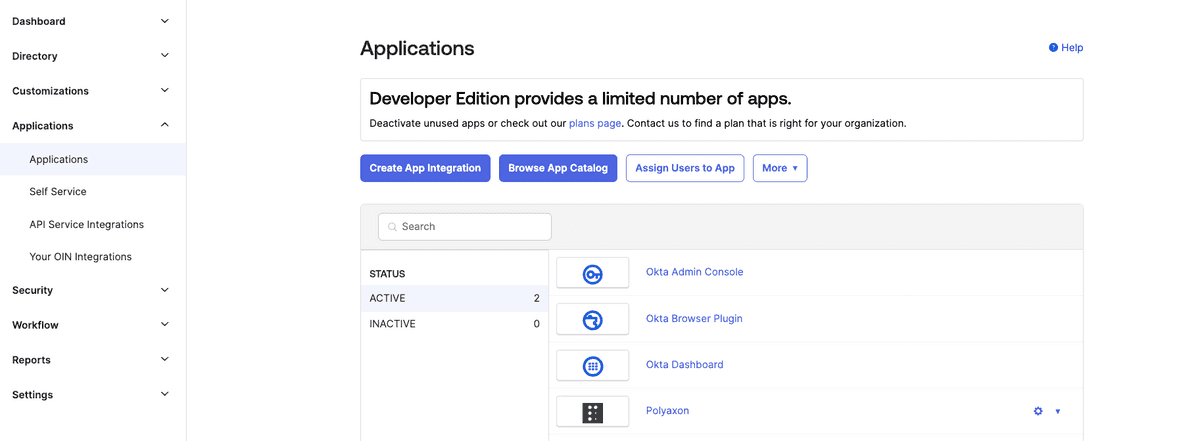
To get started, log into your Okta account and click Admin in the top right corner. Click the Applications tab in the sidebar on the Okta admin page, then select the Applications option from the dropdown menu.

Next, click the Create App Integration button on the Applications page:
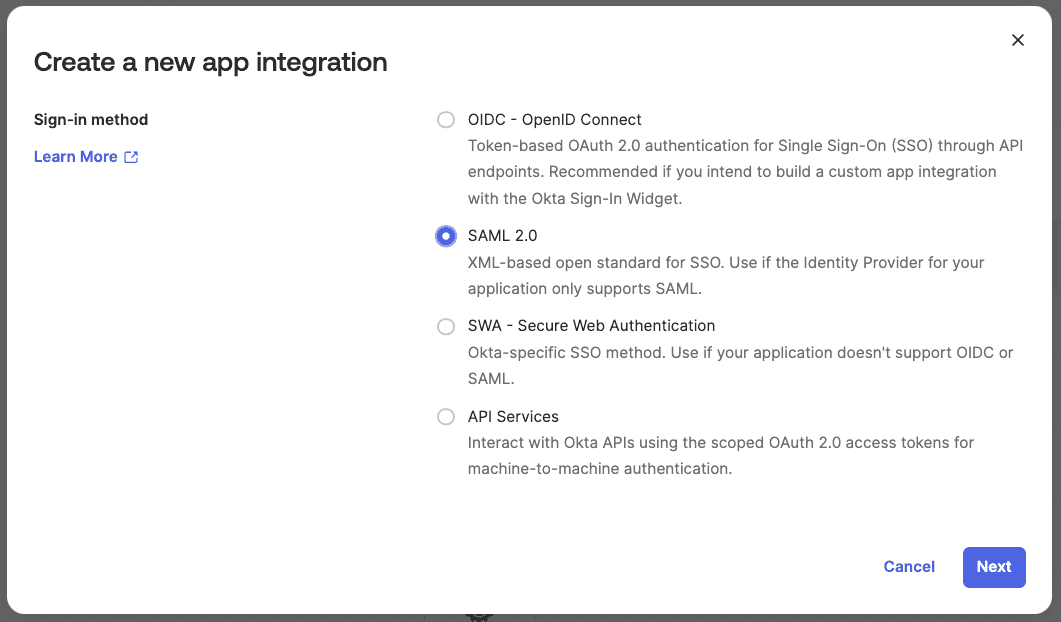
Choose SAML 2.0 as the sign-in method:
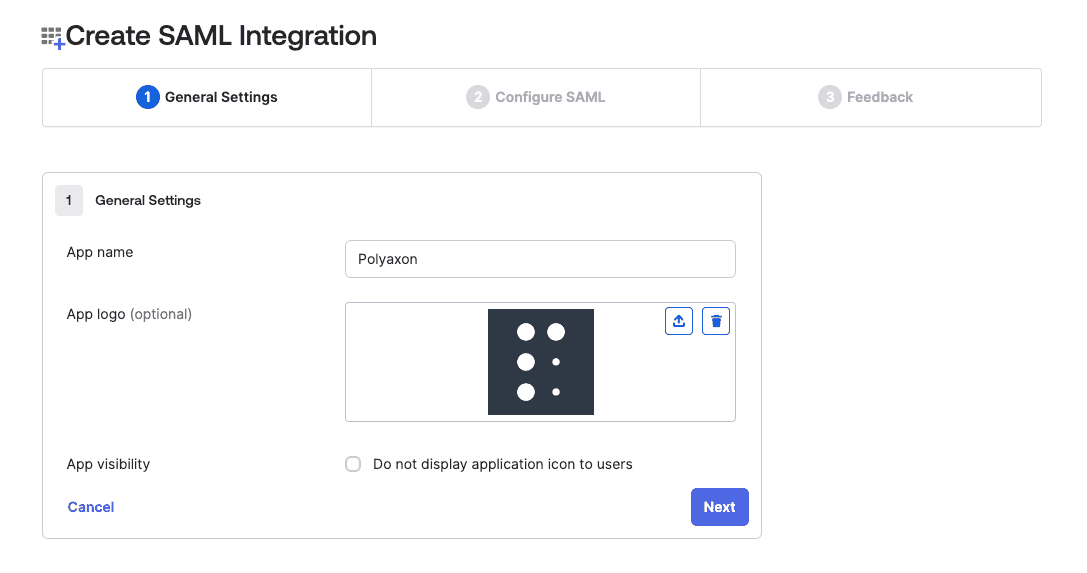
Choose Polyaxon as the app name and optional upload Polyaxon’s logo for the application:
Configure the callback URLs and attributes
Enter the urls based on your deployment hostName or ingress. Please note that the url should reflect the name of your organization, in this case the organization’s name is acme.
The structure should be HOSTNAME/sso/okta/acs/ORGANOZATION_NAME and HOSTNAME/sso/okta/metadata/ORGANOZATION_NAME:
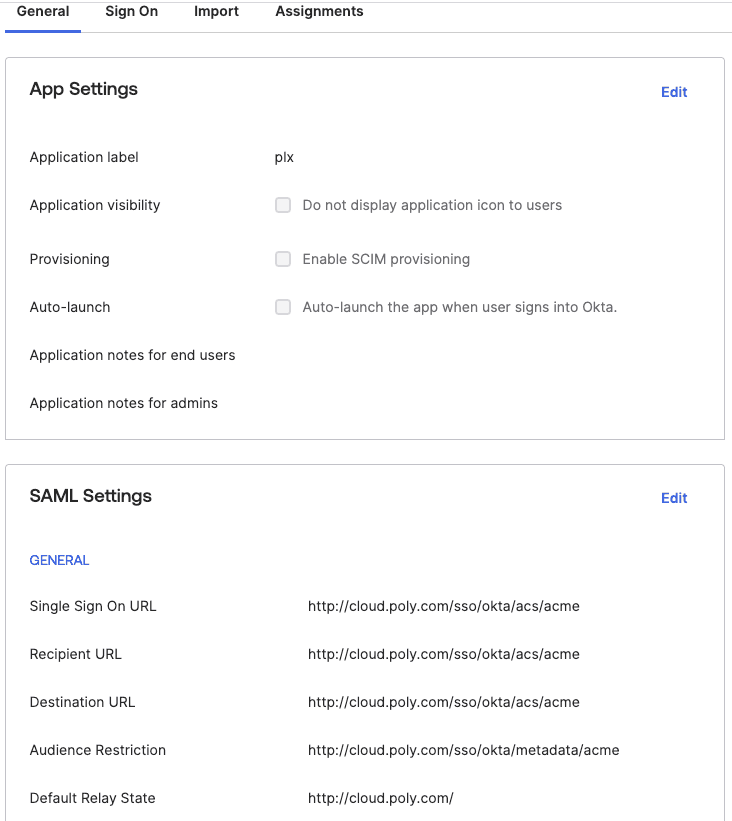
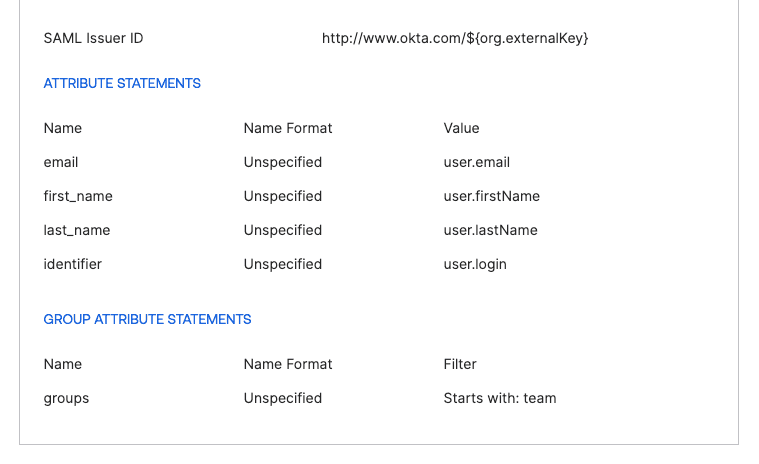
Setup the required attributes, an optionally the teams/groups attribute to automatically assign users to teams in Polyaxon:
Click ‘Next’ to complete the configuration.
Update your deployment config file with metadata
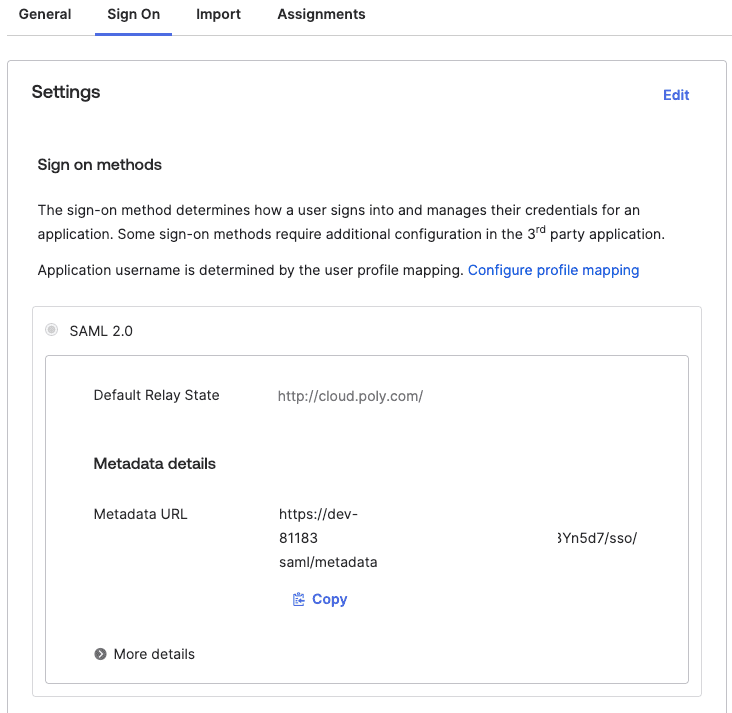
The metadata can be found in the ‘Sign On’ tab. Scroll to “SAML Signing Certificates” section and then choose a certificate type with active status. From the actions dropdown of the active certificate, click “View IdP metadata”.
Alternatively click copy metadata:
Use your information to update your deployment config file.
externalServices:
  ...
  auth:
    okta:
      enabled: true
      options:
        xml: |-
          <md:EntityDescriptor ...>
          ...
          </md:EntityDescriptor>


