Let’s look at an example of how you can use Polyaxon for running deep learning experiments.
Deploy local cluster
This example assumes a functional Polyaxon Deployment. If you have Polyaxon already deployed and running, you can skip this section and proceed to create a project. Otherwise, this section will help you deploy a local Polyaxon cluster with the default values.
Note: Minikube is not meant to be a production environment.
Before you can deploy Polyaxon, make sure you have the following:
- Minikube installed and running.
- kubectl.
- Helm.
- Polyaxon CLI.
Add Polyaxon charts repo:
helm repo add polyaxon https://charts.polyaxon.comPlease note that the default values use the host_path as an artifacts store, if the deployment does not show files or metrics, you should probably provide a valid host path:
artifactsStore:
  name: tmp_artifacts_store
  kind: host_path
  schema: {"hostPath": "<VALID-MACHINE-PATH>", "mountPath": "/artifactsStore"}
For example the path could be /Users/<USER>/tmp/artifactsStore.
Deploy Polyaxon with default config values on Minikube:
polyaxon admin deploy -t minikubeWait for all deployments to be ready:
kubectl get deployment -n polyaxon -wExpose Polyaxon UI on your localhost:
polyaxon port-forward -t minikubeTip: You can learn more about how to customize your Polyaxon Deployment in the setup section.
Create a new project
You can create a project using Polyaxon UI or with Polyaxon CLI
For this tutorial you can run this command to a create a new project, this will also set this project in the global cache so that we can run subsequent commands without passing the name of the project. We will also learn in a future tutorial how to initialize a local folder with a specific project.
polyaxon project create --name=quick-start --description='Polyaxon quick start examples.' --tags=examplesThis example uses a public Github repo for hosting the project and the Polyaxonfile manifests, similar results can be achieved using a local folder or other platforms, e.g. GitLab, Bitbucket, …
Start an experiment
Let’s run a first experiment
polyaxon run --url=https://raw.githubusercontent.com/polyaxon/polyaxon-quick-start/master/experimentation/simple.yaml -lFor more details about this command please run
polyaxon run --help, or check the command reference
The -l flag indicates that we want to stream the logs after starting the experiment.
Start a Tensorboard
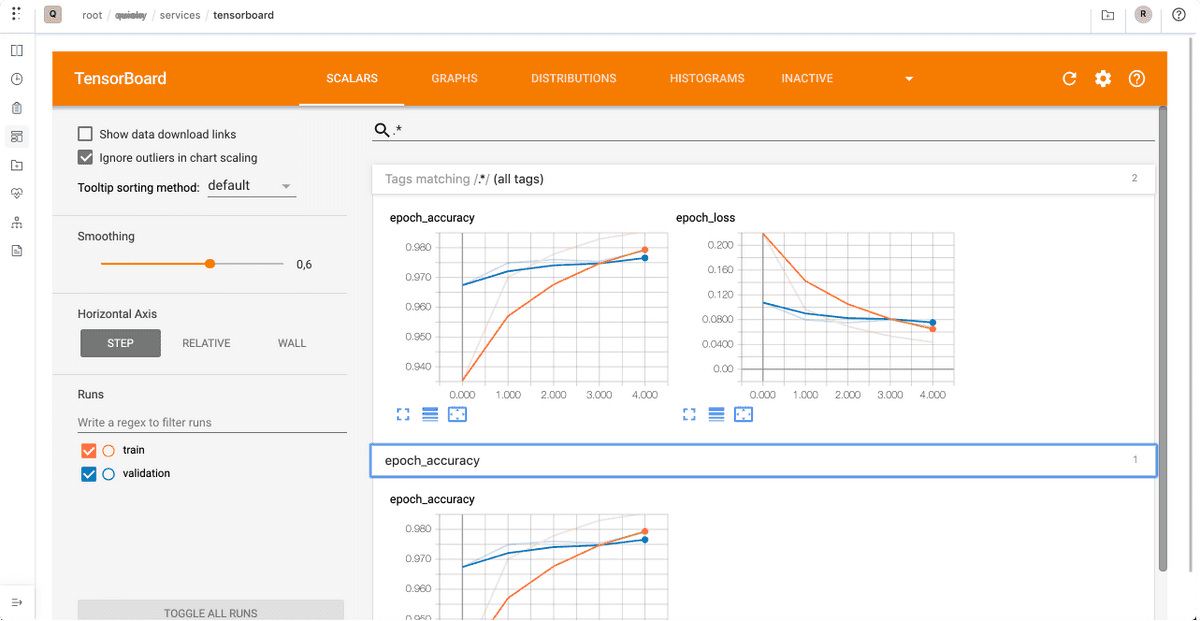
Let’s start a tensorboard to see the results:
polyaxon run --hub tensorboard:single-run -P uuid=UUID -w

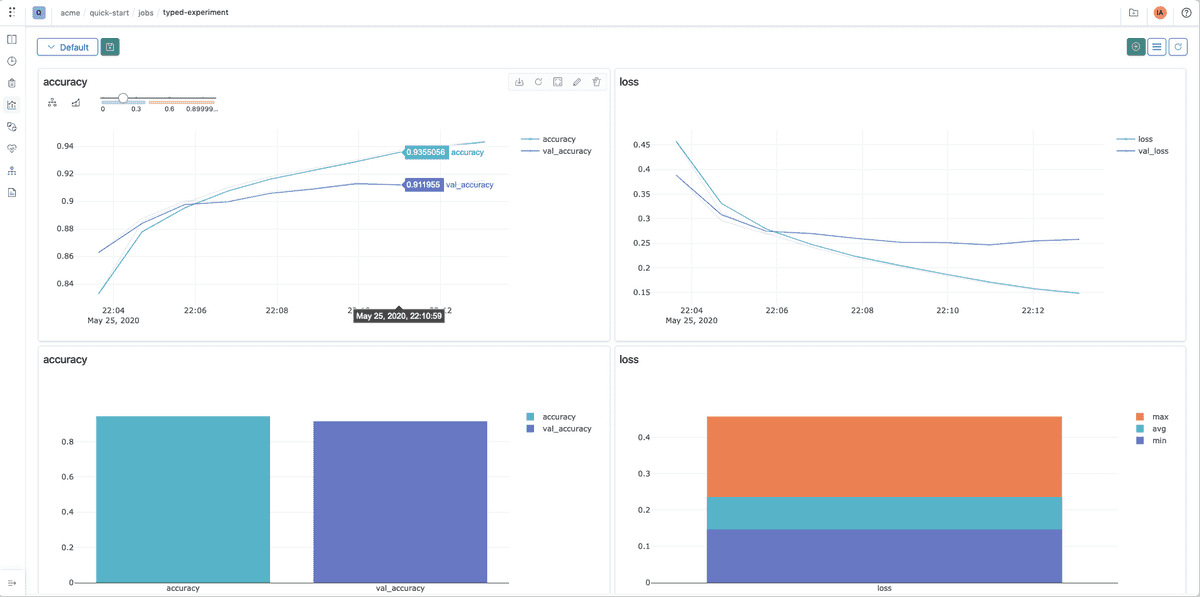
Let’s check the results on the dashboard as well
polyaxon dashboard -yFor more details about this command please run
polyaxon dashboard --help, or check the command reference
We can see that Polyaxon has logged some information automatically about our run:

Please check the runs dashboard and the visualization section for more details.
Congratulations
You’ve trained your first experiments with Polyaxon, visualized the results in Tensorboard and tracked metrics, with two commands.
Behind the scene a couple of things have happened:
- You synced your GitHub project and used the last commit.
- You ran a container with a custom image and a custom command to train a model.
- You persisted your logs and outputs.
- You visualized the results using Polyaxon’s native dashboard and Tensorboard.
To gain a deeper understanding of what happened and how Polyaxon can help you iterate faster with your experimentation process, please check the next section of this tutorial