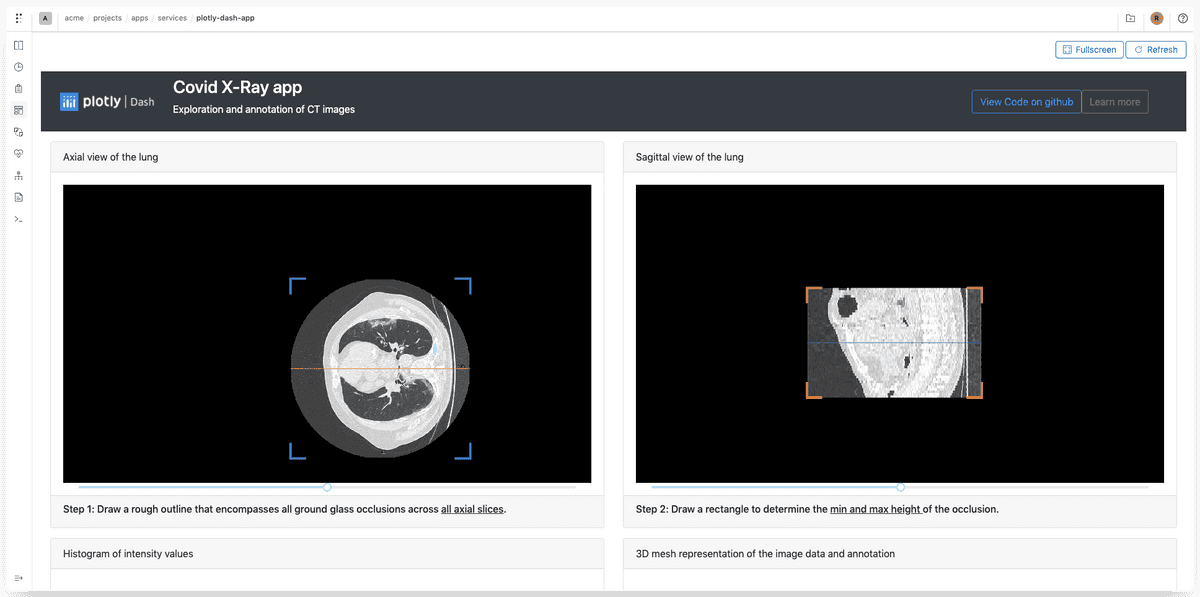
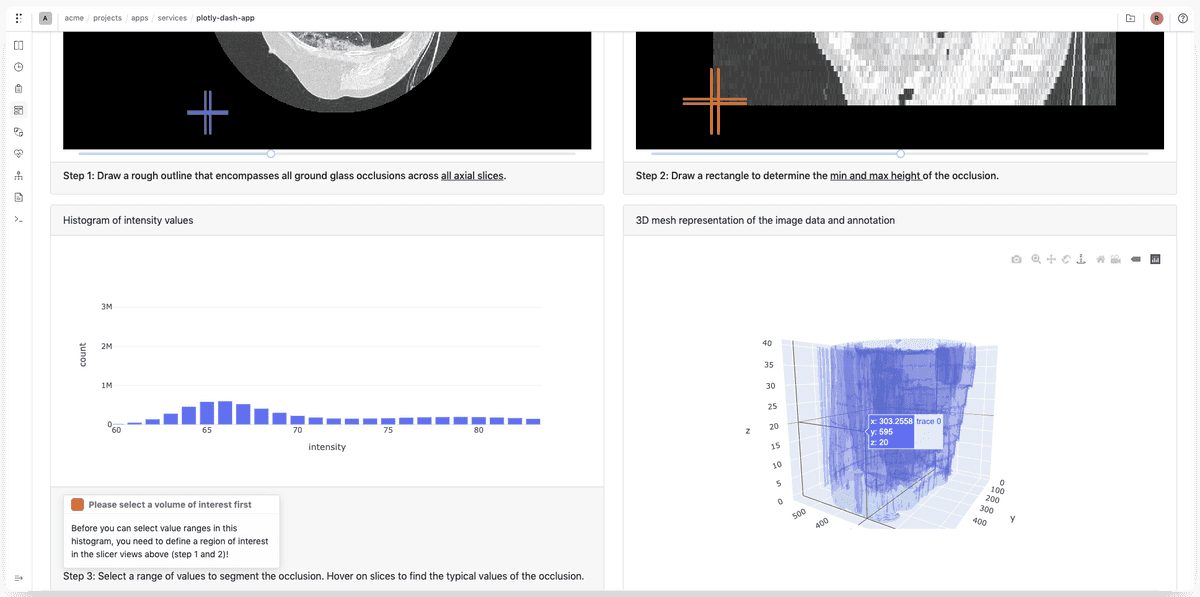
Polyaxon allows you to extend it’s native dashboarding capabilities and integrates with Plotly Dash to run and publish custom ML apps.
Overview
Users can leverage the service abstraction to schedule ML apps created using Plotly Dash to showcase their results or to expose their work as dynamic apps.
In this guide, we will show how to easily schedule and expose such work on your Kubernetes cluster using Polyaxon.
For users using Polyaxon Cloud or Polyaxon EE, the app will be automatically protected with authentication and only users with enough permissions and who have access to the project where the app is running can interact with the service.
The code used for this example is hosted on github.
This app shows how to explore 3-D chest tomography data using Dash managed by Polyaxon.
App code
This is a sample app that was created by the Plotly team and was adapted to run on Polyaxon, you can follow similar logic to deploy other dash samples or create your own.
The only customization that are required to host and view these sample apps are:
- Use a base url to correctly serve assets from the Dash apps:
import os
...

BASE_URL = os.getenv("BASE_URL", "/").rstrip("/") + "/"

app = dash.Dash(
    __name__,
    update_title=None,
    ...,
    url_base_pathname=BASE_URL,
)
...- You can pass the
BASE_URLas an env var or as an arg:
...
run:
  kind: service
  ...
  container:
  ...
  env:
    - name: BASE_URL
      value: "{{globals.base_url}}"
...- Make sure that the app is served with
host=0.0.0.0instead of the default localhost:
...
if __name__ == "__main__":
    app.run_server(debug=True, host="0.0.0.0", ...)
Polyaxon component to schedule the app
To schedule this app on Polyaxon, we just need to run this simple component manifest:
version: 1.1
kind: component
name: plotly-dash-app
tags: [plotly, dash]
run:
  kind: service
  ports: [8050]
  container:
    image: polyaxon/polyaxon-examples:dash-demo
    command: [python, app.py]
    env:
    - name: BASE_URL
      value: "{{globals.base_url}}"
This component runs the default dev server, you can also expose the app using a production wsgi server using this gunicorn component manifest:
version: 1.1
kind: component
name: plotly-dash-app
tags: [plotly, dash]
run:
  kind: service
  ports: [8000]
  container:
    image: polyaxon/polyaxon-examples:dash-demo
    command: ["sh", "-c"]
    args: ["gunicorn --preload -t 60 --bind 0.0.0.0:8000 app:server"]
    env:
    - name: BASE_URL
      value: "{{globals.base_url}}"
To run without cloning the repo:
polyaxon run --url=https://raw.githubusercontent.com/polyaxon/dash-polyaxon-demo/master/polyaxonfiles/app-gunicorn.yamlIf you cloned the repo:
polyaxon run -f polayxonfiles/app.yamlor
polyaxon run -f polayxonfiles/app-gunicorn.yamlNote: You might need to provide the correct project with
-p PROJECT_NAME
Viewing the service
Go to the UI under service tab:
polyaxon ops dashboard [-uid] [-p]Or to get to the service directly:
polyaxon ops service [-uid] [-p]Or to get the service in full-screen mode:
polyaxon ops service --external [-uid] [-p]


Additional information
The docker image polyaxon/polyaxon-examples:dash-demo was created using this operation:
version: 1.1
kind: operation
name: build-dash
params:
  destination:
    connection: CONNECTION_NAME
    value: polyaxon-examples:dash-demo
  context:
    value: "{{ globals.artifacts_path }}/dash-polyaxon-demo"
runPatch:
  init:
    - git:
        url: "https://github.com/polyaxon/dash-polyaxon-demo"
hubRef: kaniko
This operation clones the repo (https://github.com/polyaxon/dash-polyaxon-demo),
and builds the container using the Dockerfile
that is hosted inside the repo, which basically just copies the code and runs pip3 install -r requirements.txt.


